Nothing says “Merry Christmas” quite like a box filled with beautifully arranged homemade cookies. It’s personal, delicious, and looks like something straight out of a bakery window. Creating your own Christmas cookie gift boxes is easier than you might think — it just takes a bit of planning, creativity, and love.
Let’s walk through a step-by-step guide to make cookie boxes that are as stunning to look at as they are to eat.
1. Plan Your Cookie Variety
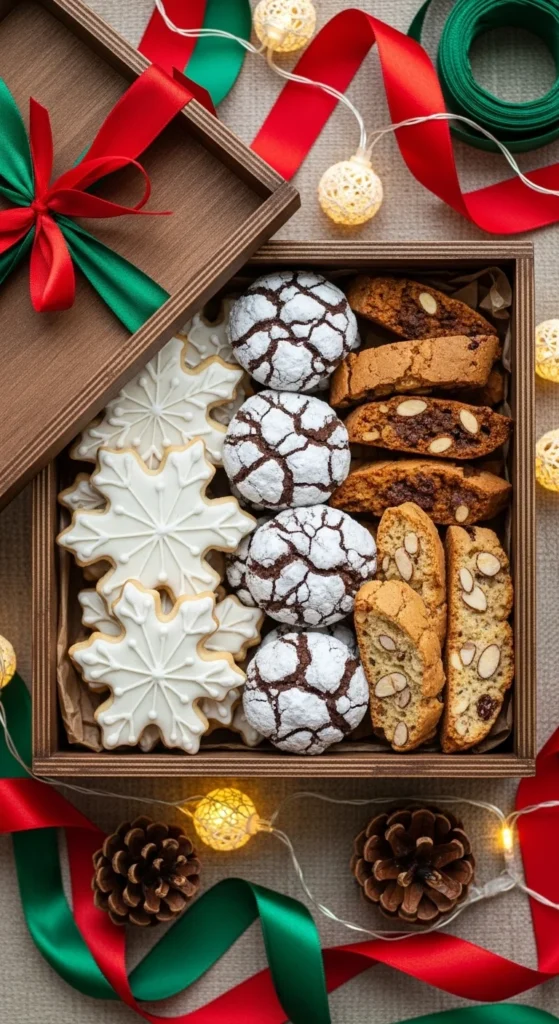
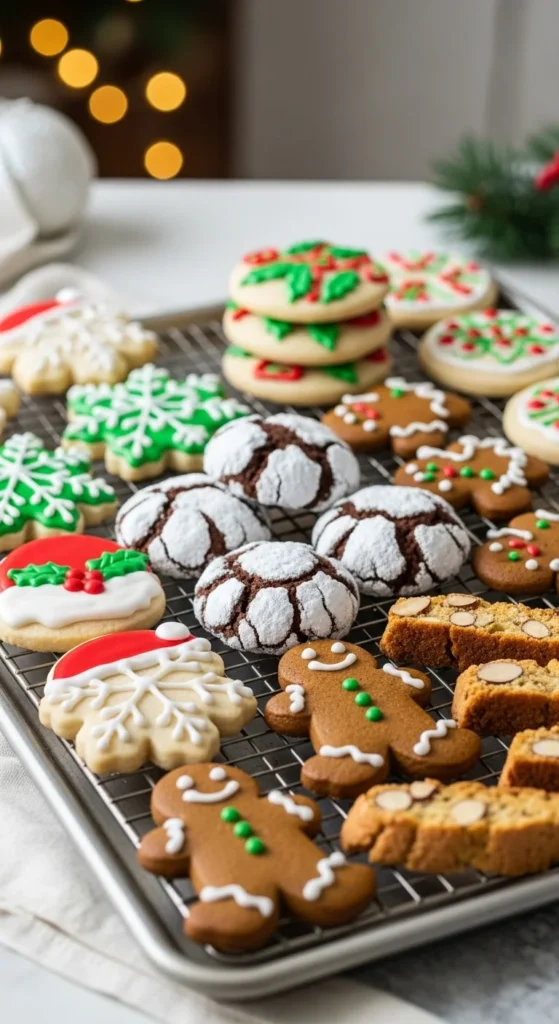
The magic of a great cookie box lies in variety — colors, shapes, textures, and flavors. Aim for a mix that keeps the eye (and taste buds) excited.
2. A good balance includes:
- 1 classic cookie – like sugar cookies or shortbread.
- 1 chocolate treat – brownies bites, fudge, or chocolate crinkles.
- 1 nutty or spiced cookie – think pecan snowballs or gingersnaps.
- 1 fun or decorative cookie – like iced snowflakes or candy cane cookies.
- 1 chewy or soft option – oatmeal raisin or soft molasses cookies.
Pro tip: Choose cookies that don’t crumble easily and last several days at room temperature. Avoid anything with frosting that stays sticky or needs refrigeration.
3. Choose the Perfect Box
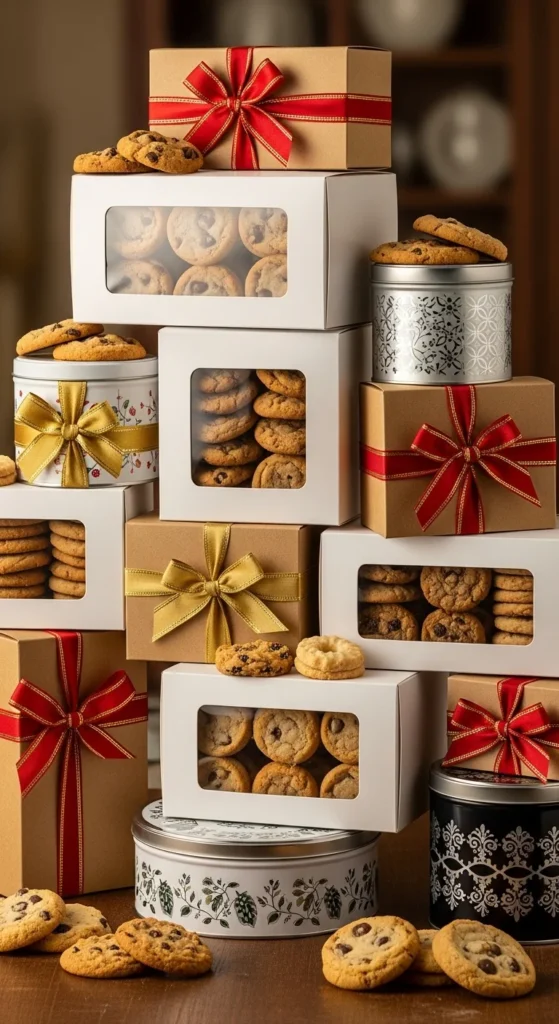
Your box sets the stage for presentation. You can find beautiful options in craft stores or reuse simple packaging from home with a creative twist.
4. Best box styles:
- Window boxes: Show off your cookies without opening the lid.
- Tins: Timeless and protective — great for mailing.
- Rigid gift boxes: Elegant and sturdy, perfect for layering cookies.
- DIY boxes: Use plain cardboard boxes and decorate them with paper and ribbon.
Line the box with parchment paper, tissue, or food-safe paper shred for a professional touch.
5. Bake Ahead and Store Smart
Timing is everything. Bake cookies that can be made in advance and stored without losing texture.
6. Cookies that store beautifully:
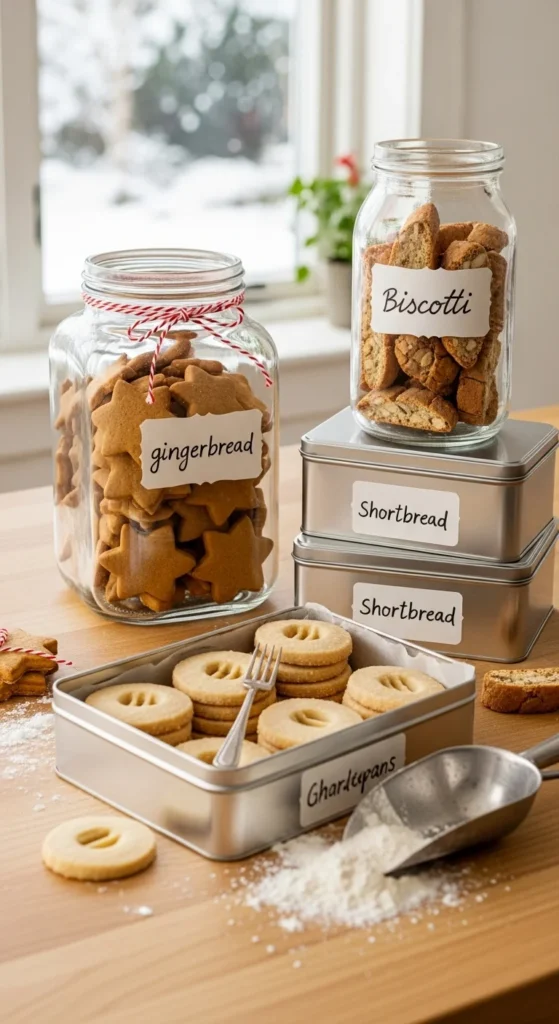
- Biscotti (up to 2 weeks)
- Shortbread (up to 10 days)
- Gingerbread (1 week)
- Sugar cookies (7–10 days if iced and dried)
Store each type separately in airtight containers until you’re ready to assemble. This keeps flavors and textures from blending together.
7. Arrange Like a Pro
Here’s where the fun (and artistry) begins — arranging your cookies into a stunning, bakery-style display.
8. Follow these simple steps:
- Line the box with parchment or tissue for a clean base.
- Add dividers using cupcake liners, small baking cups, or folded paper.
- Place sturdier cookies first on the bottom layer (like shortbread or biscotti).
- Add delicate ones on top or in cups to prevent breakage.
- Mix colors and shapes — alternate light and dark cookies for contrast.

Pro tip: Don’t overcrowd — leave a bit of breathing room. Cookies look more appealing when each type stands out.
9. Add a Personal Touch
Your cookie box should feel thoughtful and unique. It’s the small details that make it memorable.
10. Add:
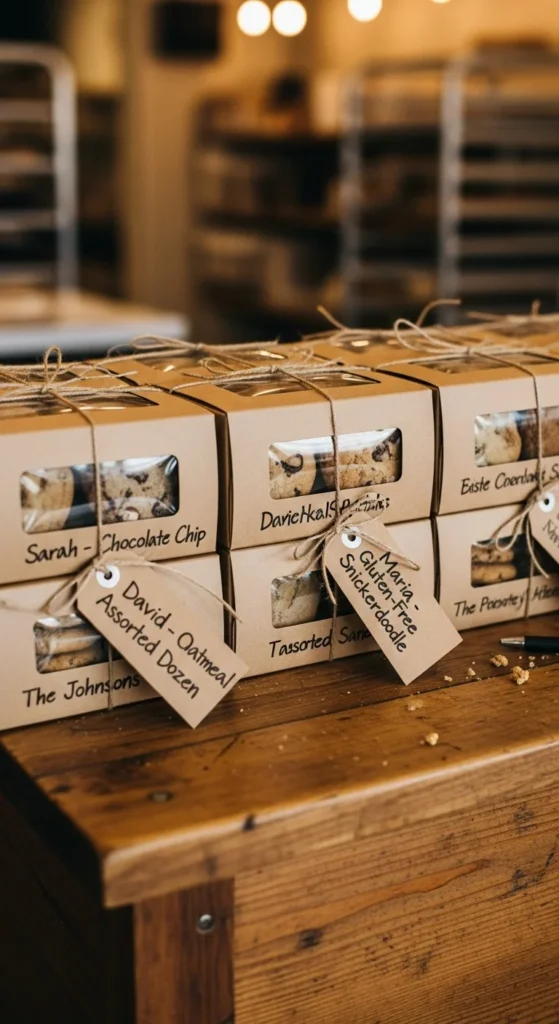
- A handwritten tag with each cookie’s name and flavor.
- A short note or greeting card with a holiday message.
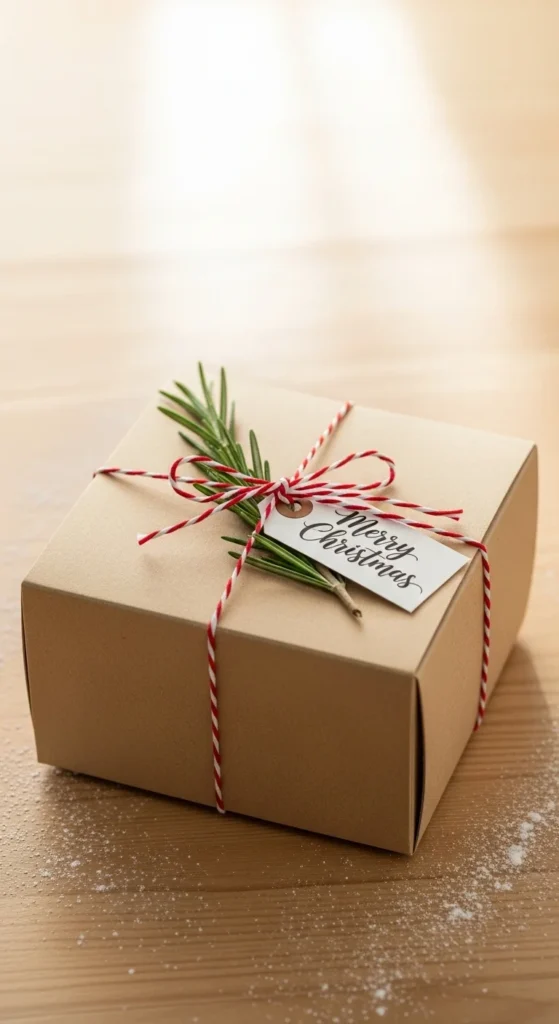
- A mini ornament, cinnamon stick, or sprig of rosemary for natural decoration.
- Ribbon or twine in classic Christmas colors to tie it all together.
If you’re mailing your boxes, add a layer of bubble wrap under the lid for protection — your cookies will arrive safe and beautiful.
11. Seal, Label, and Store
12. Once your boxes are assembled:
- Seal them well with a snug lid or ribbon to keep air out.
- Label with ingredients (especially if giving to people with allergies).
- Store in a cool, dry place until gifting.
Most cookies will stay fresh for 5–7 days when sealed properly. For longer storage, refrigerate or freeze before assembling and thaw just before gifting.
13. Create a Beautiful Unboxing Moment
When your recipient opens the box, they should feel like they’re unveiling a treasure chest of treats.
14. To enhance that moment:
- Use layers of parchment or tissue between levels for surprise reveals.
- Add a sprinkle of edible glitter or powdered sugar for sparkle.
- Choose a scent — a cinnamon stick or dried orange slice adds a festive aroma.
Presentation is part of the experience, so think about how it feels from the first peek to the last bite.
15. The Sweet Takeaway
A homemade Christmas cookie gift box is more than a treat — it’s a memory in a box. Every detail, from the cookie selection to the ribbon, shows thoughtfulness and creativity.
With these simple steps, you’ll craft stunning cookie boxes that delight every recipient — and maybe start a holiday tradition that everyone looks forward to each year.
✨ Save this guide for your next holiday baking weekend — and make this Christmas your most delicious one yet!